A Guide to Blue Sky Photography

Give it a chance and learn where to go.
Photography under bright, harsh and sunny blue skies can be challenging, but it doesn't have to be. Not everyone can shoot at the ideal time of day, especially if you're traveling and want to take photos all day long and cover a wide range of locations in the same day. In this post, I'll share simple but powerful tips to help you make the most of your blue sky photography days.
I was recently in Scotland for a week which is often known for its beautiful mood and shooting conditions, however it was blazing sun and blue skies all week, now did I write off photography because of that? absolutely not.
Learning where to go and what to photograph on blue sky days should be the first thing you get comfortable with. For me I do think where ever you go in whatever weather you can come away with some nice photos, and thats a sign of a great photographer. However of course there are always going to be places that suit different weather conditions the most, and in my experience this is what I recommend most for harsh blue skies..

Big coastal landscapes where you can use a vast blue sky to mirror and compliment the colours of the ocean, or contrast with the beach, cliffs and hills.
Coastal locations, depending on where you are in the world, normally have a fair few people roaming about, so you can focus on people and life while blue skies can take a soft back stage role in your photos.
Little villages, coastal towns and harbours will be full of details, buildings and structures that can be photographed very pleasingly under blue skies. You can also find sand dunes, piers and structures leading out to sea that look awesome against blue skies.
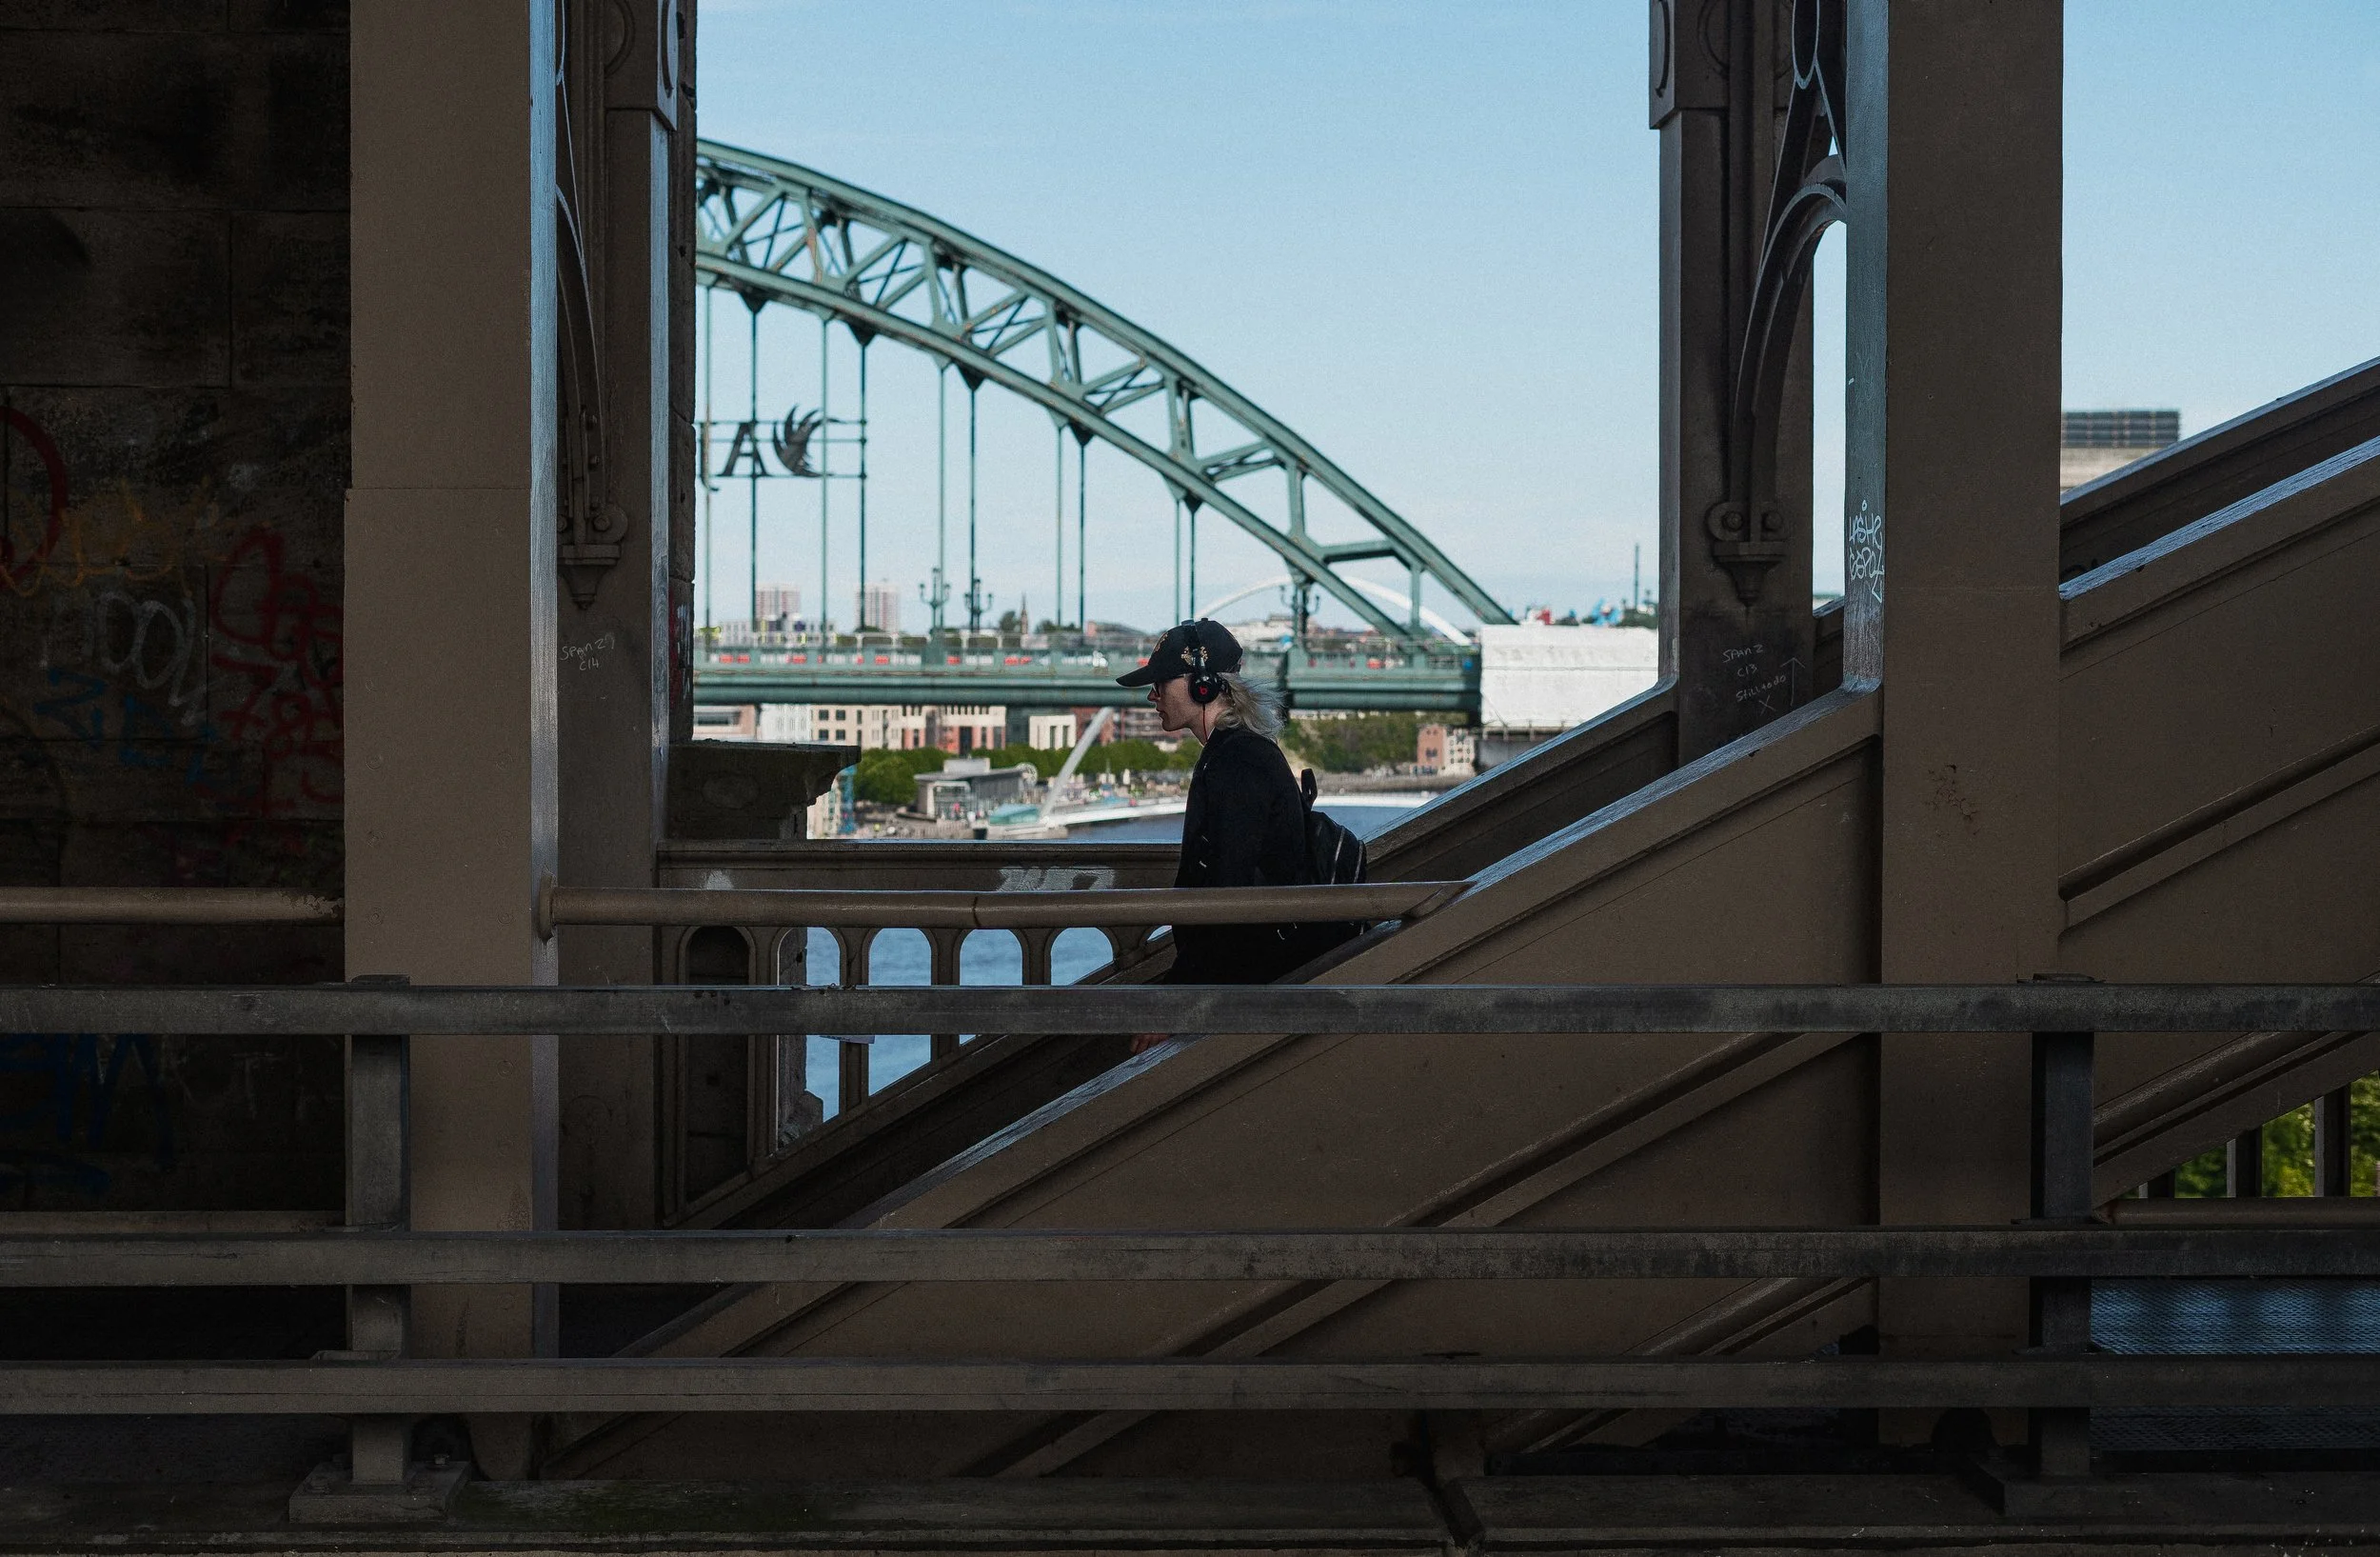
Next, street, city, and urban photography can be fantastic on blue sky days. While cityscapes look stunning at golden hour, you can still capture great photos in the city throughout the day. Street photography often doesn't require a prominent sky, so the extra light can be beneficial.
Buildings and structures cast long shadows and create interesting light patterns, providing ample opportunities for creative shots. Look for reflections in windows, upward shots that contrast buildings against the blue sky, and theres always plenty of detail shots to focus on. Taking shade under bridges, archways and in small back streets can really help cut out some of that harsh light.
These tips also apply to more traditional villages or lakeside settlements with a similar street and city feel, think towns that are big enough for a fun day of photography, but aren’t capitals.
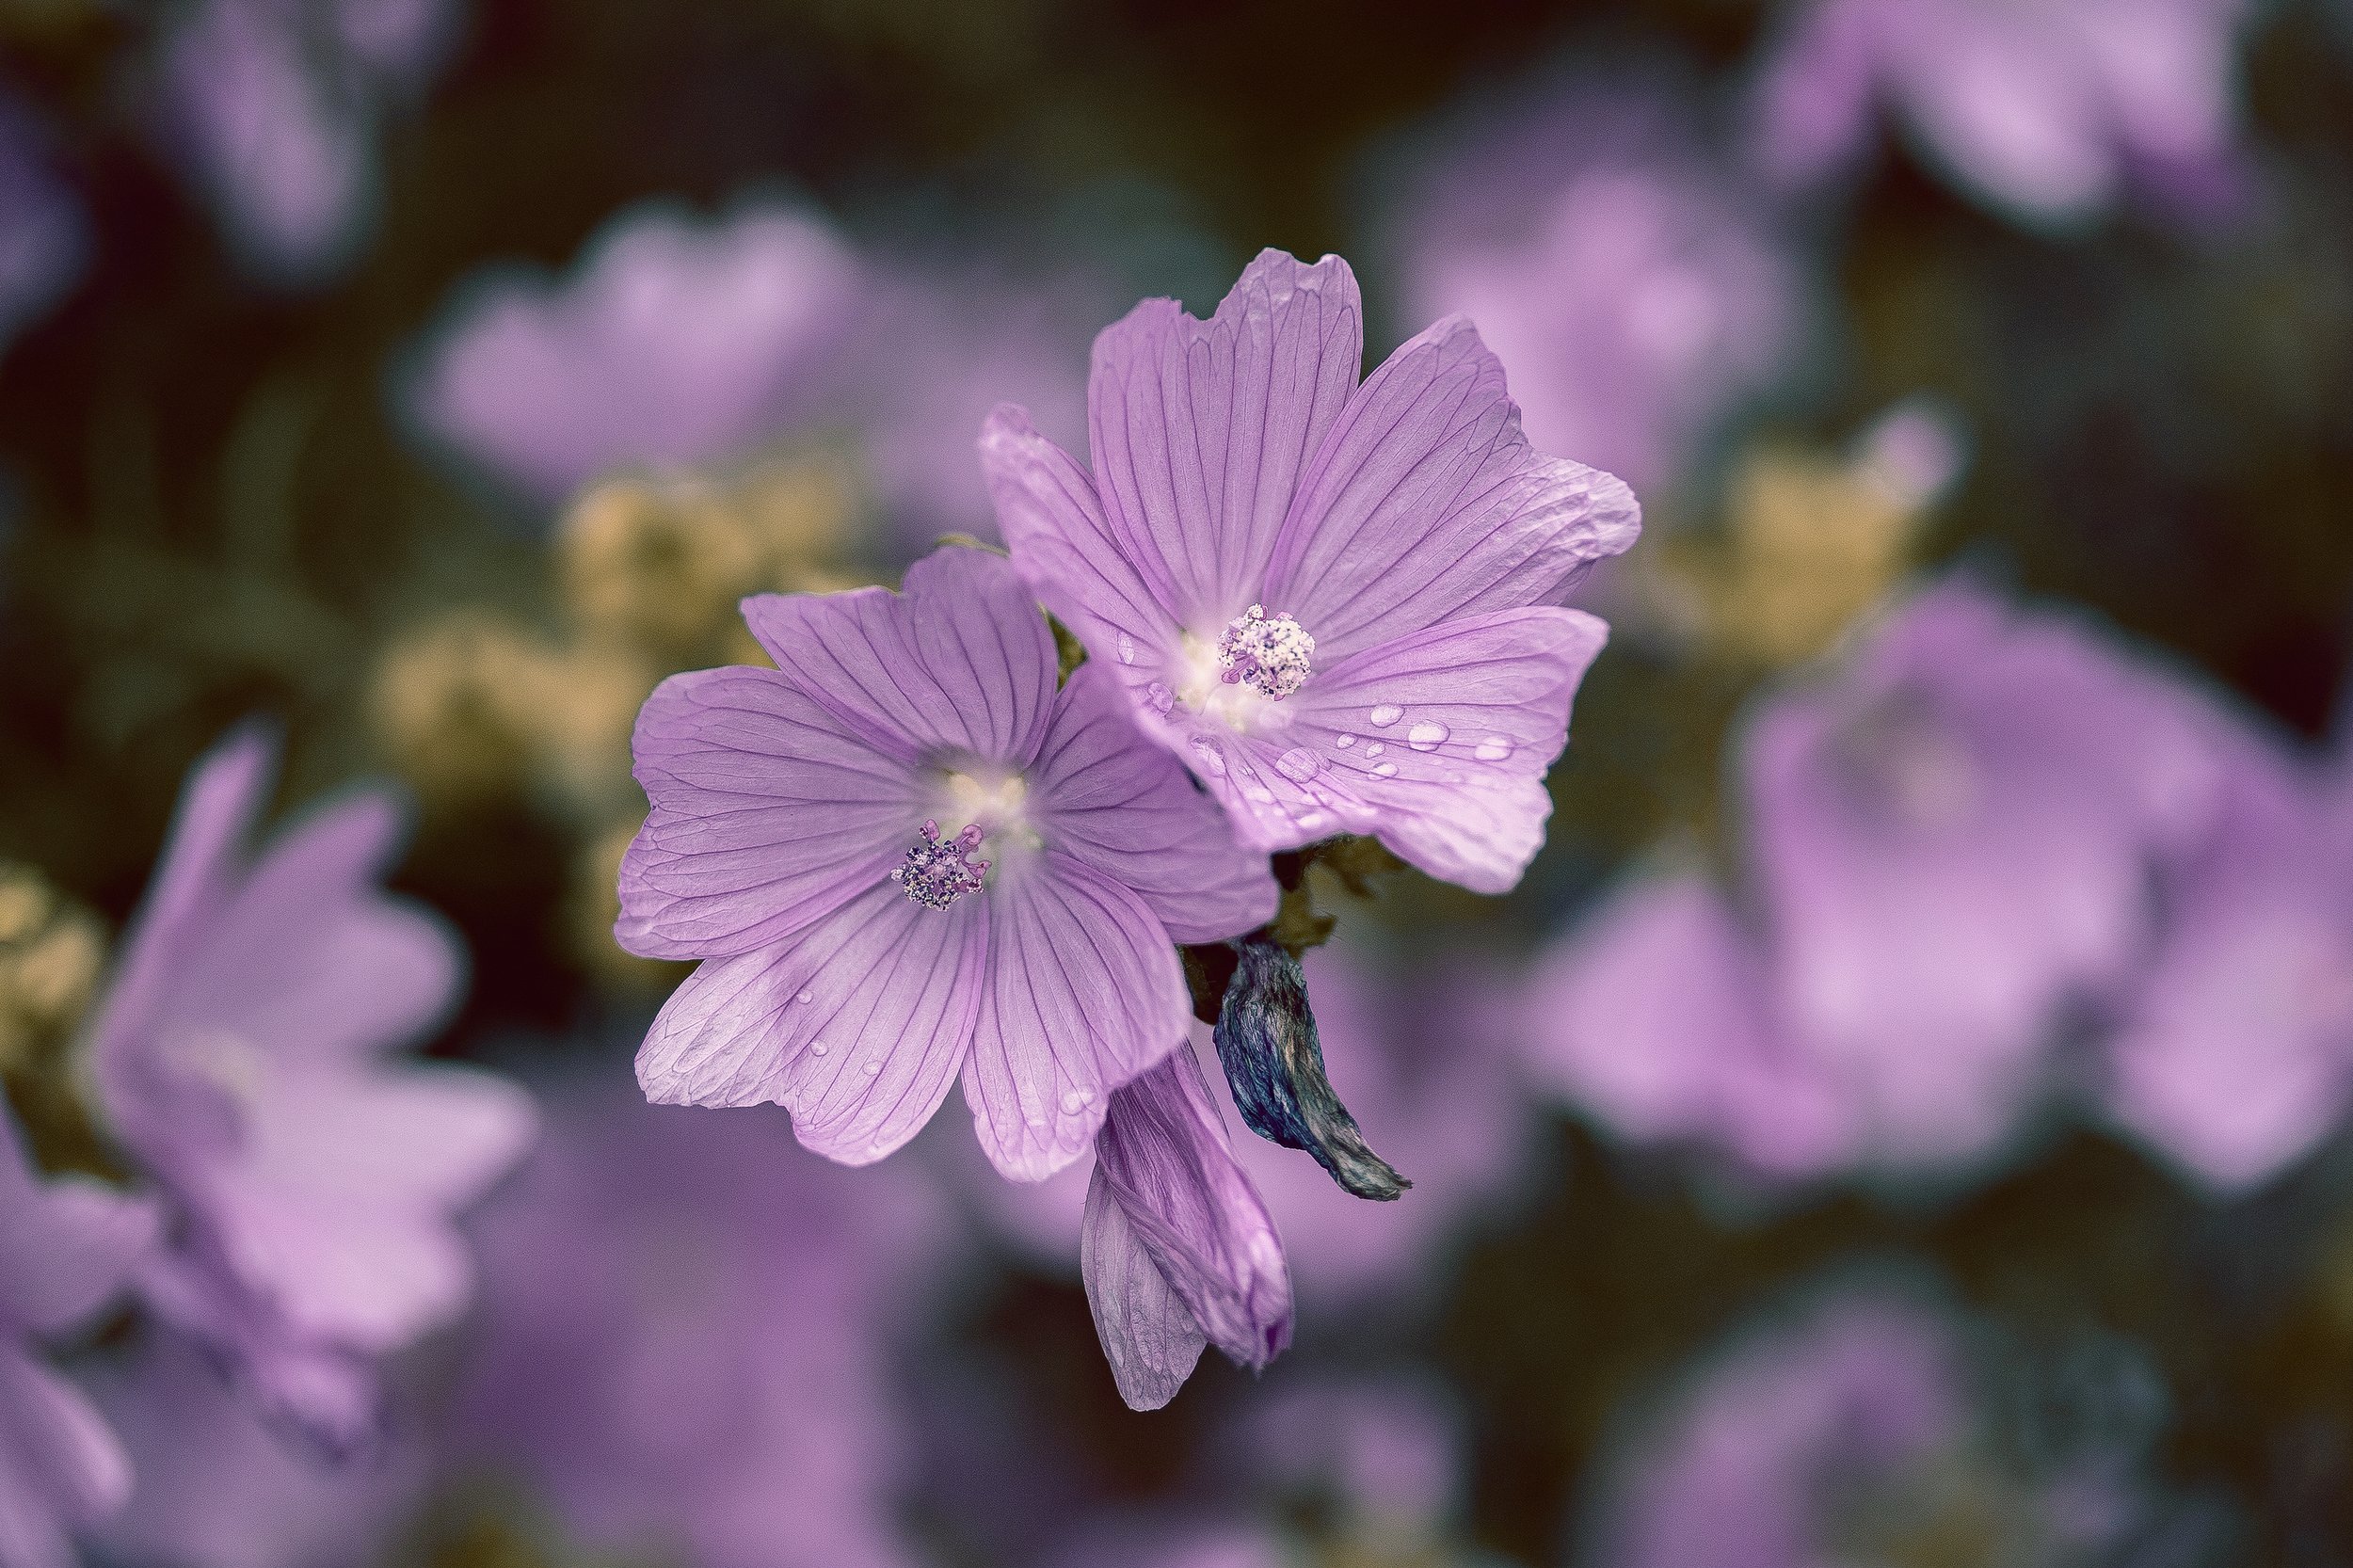
The next great location for blue sky photography is botanical gardens, parks, and local hangout spots. These places offer similar advantages to coastal areas.
You'll find plenty of people enjoying their day, providing opportunities for dynamic and engaging photos. The abundance of colourful plants, trees, and structures creates interesting shadows and light patterns, while also allowing harsh light to be cut out in places.
Again, you don't have to include the sky in every shot, you can focus on flowers, macro photography, ponds, waterfalls, and other details that look fantastic under blue skies, just like my flower detail shot above.

Countryside and rural areas can be challenging to photograph under blue skies due to the lack of cover for the light and the potential for a jarring color combination of blue skies, green fields, and rolling hills.
However, if you look for old rural buildings like barns, forts, abandoned farmhouses, or cottages, you can fill your frame and let the big blue skies take a backseat. This can create a more visually interesting composition.
For example, old petrol stations in the countryside can look great against a bright blue sky. Consider adding a vintage post-processing touch for an extra layer of interest.

Technical tips (kind of)
Instead of fighting the conditions, let them play a role in your photos. For example, if you're at the beach on a bright sunny day, embrace the cheerful atmosphere and shoot happy, vibrant scenes. Don't try to force a moody or dark vibe, as it won't work.
If the sky is bright blue with those classic "Windows 95" clouds, don't automatically try to darken it in post. Instead, embrace the brightness and consider washing out the colors for an even more vibrant look.
Just as you would highlight the orange and brown tones in autumn photos, work with the blue sky. Search for scenes that compliment the blue colour and create a harmonious composition. Your subject matter should be your priority. At golden hour, photographers often focus on the beautiful light and at times hide behind it, but on blue sky days, you need to prioritise strong subjects. Don't worry about the sky until you've found a powerful subject and chosen the best angle to showcase it. Then, you can decide how much sky you want to include in your composition.

Speaking of how much sky to include, consider using minimalism and plain blue skies with plenty of negative space. Negative space can be incredibly effective in photography, especially when you have a strong, standout subject.
Blue is a beautiful color, and a large block of blue can be visually pleasing when framed correctly. If you're using a giant blue sky for negative space, I recommend reducing the saturation in post to a pastel light blue. This can create a calmer feeling and prevent the blue from overpowering the image.
In fact, I suggest reducing the saturation of all blue skies to a pale, filmic blue. This can make the image look more professional and less like an iPhone photo ran through too many filters. Of course this is my personal preference, you may have different tastes but I encourage you to try it and see if you like the results.

My final tip (the most technical) - Expose to the right slightly. This means increasing the exposure to push the histogram toward the right. Be careful not to blow out the highlights completely.
Exposing to the right can be beneficial on blue sky days when there's a high contrast between the bright sky and a darker foreground. This gives you more flexibility to adjust exposure and contrast in post without losing details or introducing noise.
It also aligns with my earlier advice to work with the conditions, not against them. A slightly overexposed sky can draw attention to the subject, reduce the appearance of unwanted clouds, and enhance the bright, happy feeling.
Pay close attention to heavily shadowed areas on blue sky days. These shadows can be used to block off parts of your frame, creating intriguing and mysterious images that leave viewers curious.
Failing all of that, you could simply swap to shooting black and white imagery, going out on a blue sky day and taking black and white photographs is always going to be better than not taking any photos, or worse staying indoors.